
Landy's Hobby Blog
Ho, fellow brush lickers! It’s been a minute since we spoke last! My hobby time has been a bit of a rollercoaster—ups and downs of activity! At long last, I’ve got an end of year vacation planned, largely because me and the missus are expecting a visit from the stork any day now! The house has been a bit chaotic putting the final touches on preparations for the baby so the painting desk had sit idle until I stopped in at the local GW store and picked up a box of Death Guard Plague Marines last weekend.
Needless to say I’m hooked all over again. The sculpts are superbly detailed and there are loads of options to build on these guys. What started as an idea for a Kill Team has quickly turned into the top of the holiday wishlist for me this year…oops I spent most of the week debating what paint scheme to go with, since I’ve always been fond of the studio ‘eavy metal style for Plague Marines, but also love the look of the bone white of the Heresy Era Death Guard. So the next logical step was to pop back down to the store and pick up the easy build three pack to test out schemes.


I want to keep the scheme I end up with as simple to produce as possible. “Economy of effort” as someone put it recently. In that spirit, I’ve opted for something between ‘Eavy Metal style and sketching colours using washes.
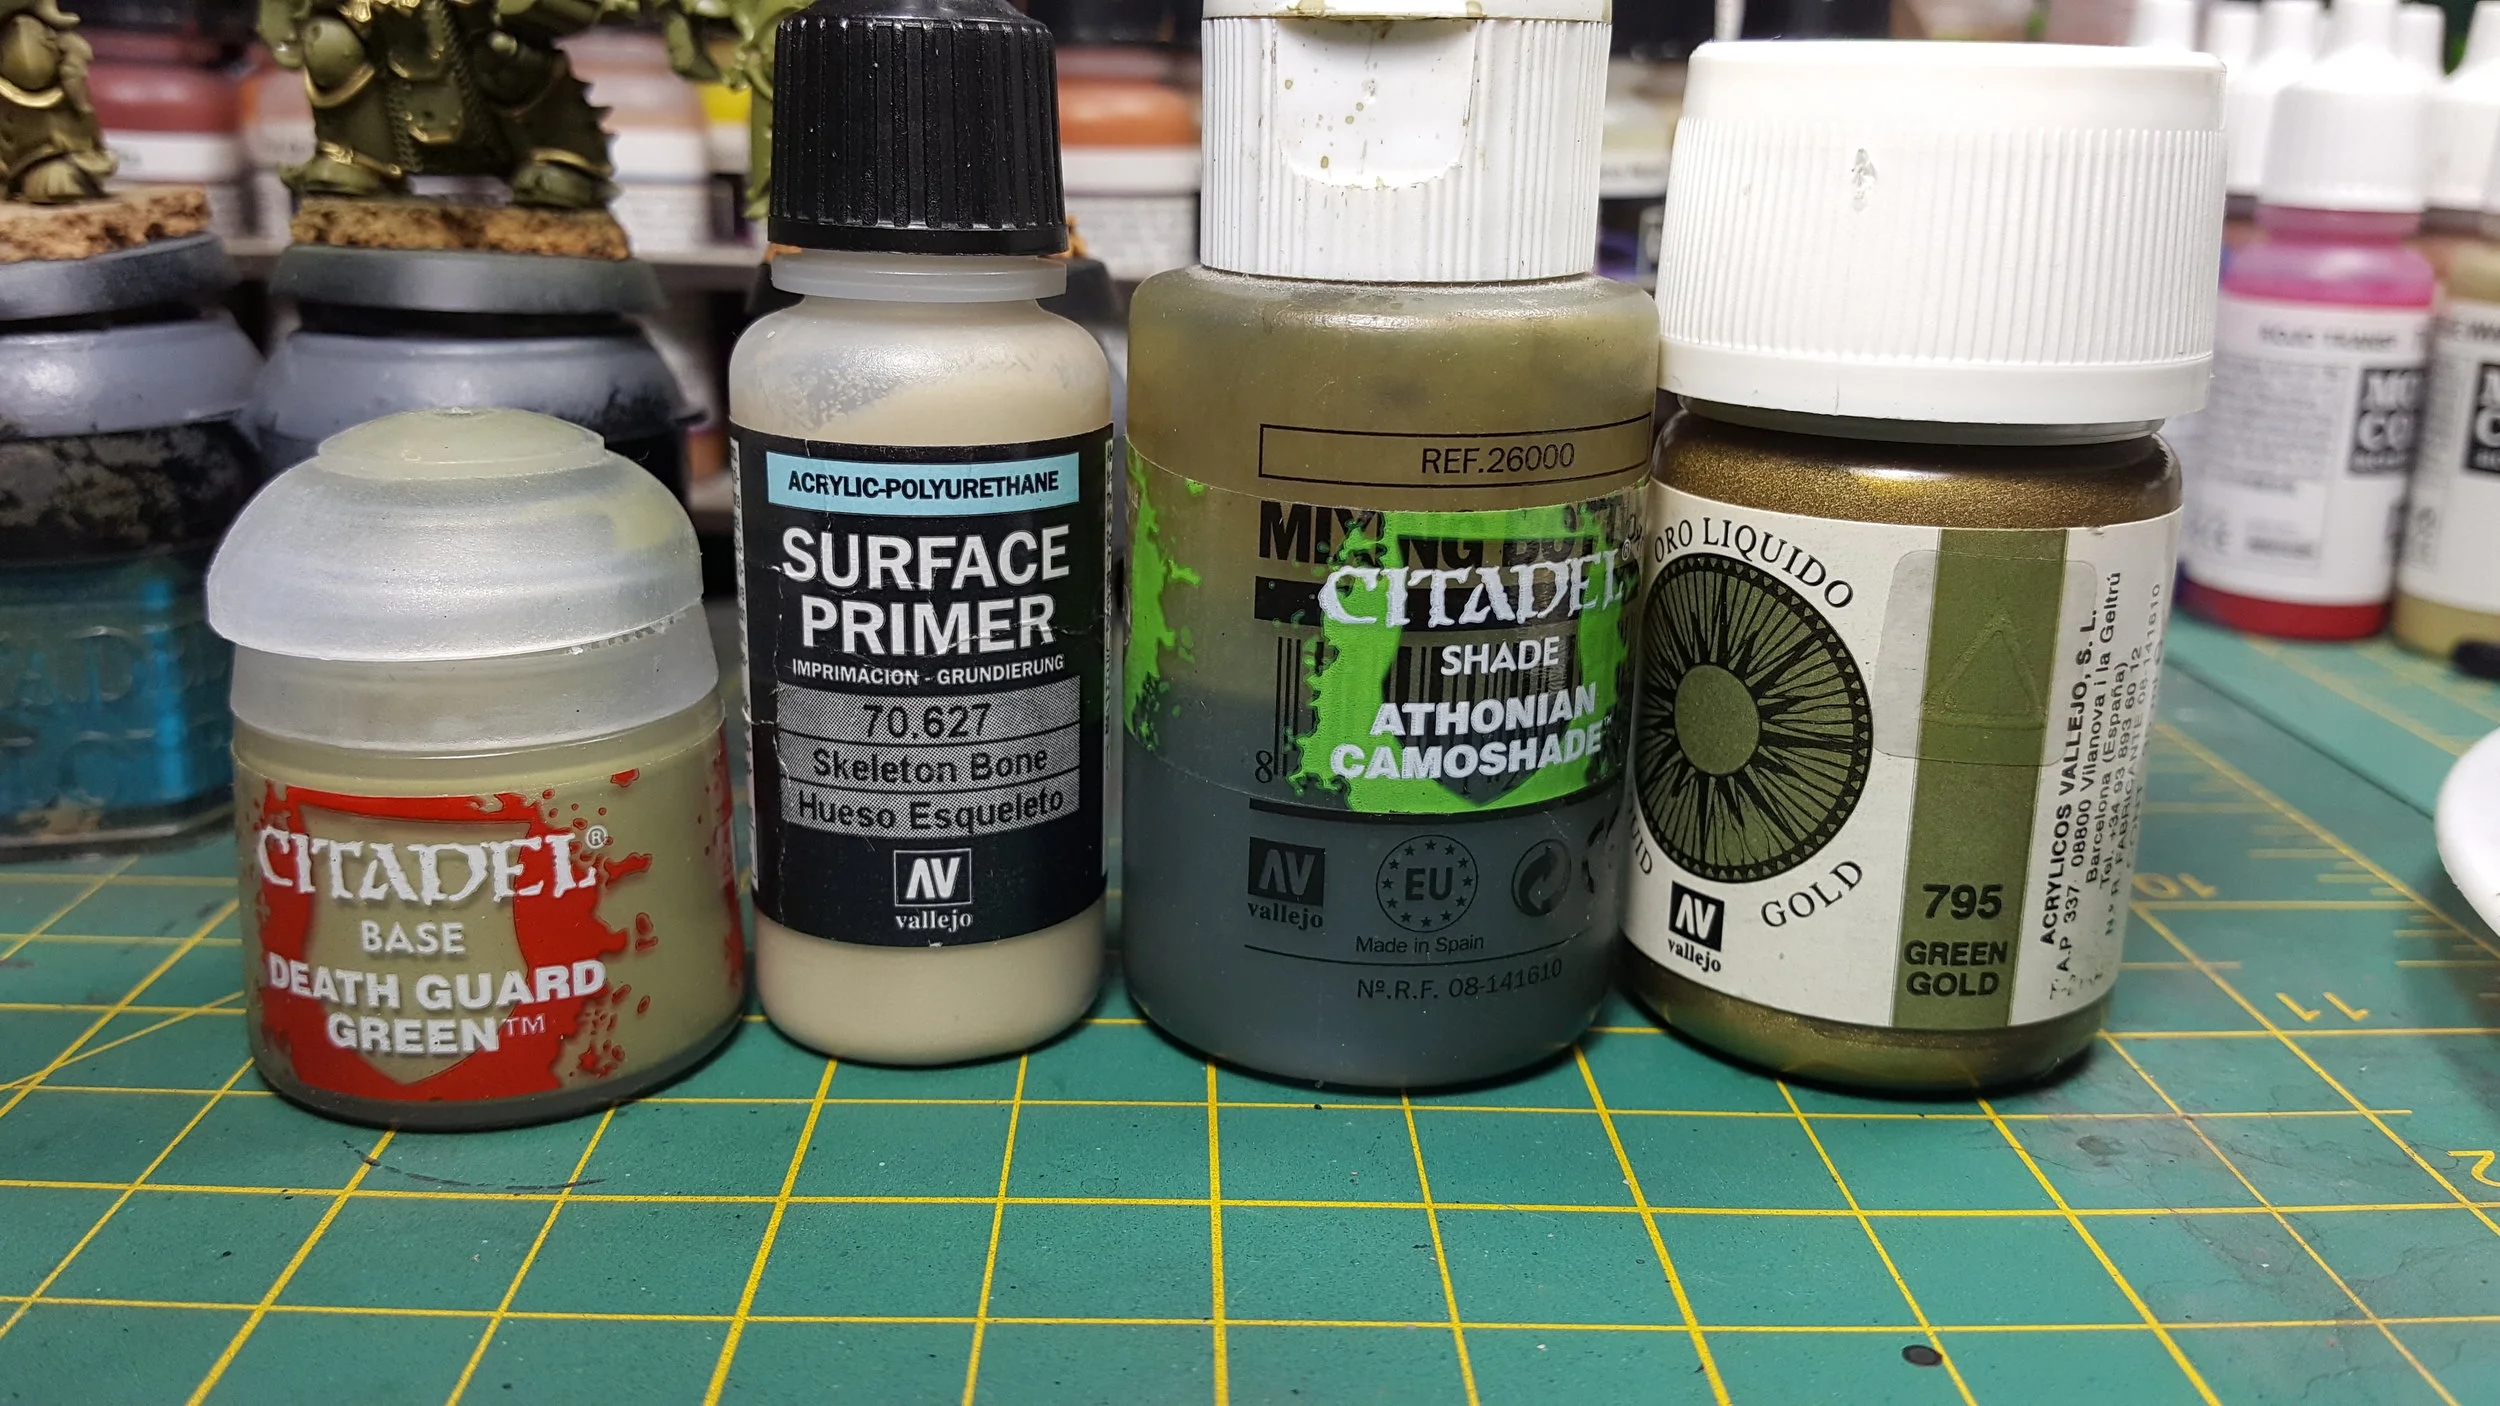
Using Vallejo Bone White primer and Death Guard Green as my base layer, I applied a mix of Athonian Camoshade and Vallejo Airbrush Flow Improver all over to give the armour a nice grimey appearance, departing from the typical Agrax Earthshade or Nuln Oil washes. To do the trim, I opted for something a little more time consuming, but well worth the effort—Vallejo Liquid Gold “Green Gold.” It’s got a nice greenish-yellow tint to it that makes it the perfect complement to both armours. On the Bone White marine, I also applied a Biel-Tan green shade on the shoulder and knee pads to recreate the look of the Heresy Era scheme.
To mute the Green Gold I applied a couple of layers of Agrax Earthshade and a bit of Athonian Camoshade. After all of the washes came the fun part—the weathering! I used Typhus Corrosion in the recesses and the pits in the armour to give it a worn appearance. To weather the copper/brass areas I used Nihilakh Oxide, and some Ryza Rust to make the silver metallic areas look suitable grimy as well.


For the basing on the test subject, I used Astrogranite texture paint to give the appearance of asphalt, and hit it with a drybrush of Dawnstone and Longbear to make it pop a bit. And to give the appearance of some sort of virulent pus oozing from his boots, I applied a pool of Vallejo Game Effects Vomit (Nurgle’s Rot would make a good substitute for this as well.)
The end result is exactly what I was hoping it would turn out to be, so I think I’ll finish up the second test subject just to confirm, but this guy turned out so close to the vision in my mind’s eye that there’s no doubt in my mind it would look great across an entire unit, let alone an entire army. Plus, it was quite easy to do and only required minimal steps on my part, with minor detail work to make everything pop. Quick and efficient paint jobs are going to be needed in the near future with the wee-babe on the way, but I am supremely excited to have a new painting partner by my side on those nights when neither one of us will be able to sleep!