
WWII Fighting French & US painting guide

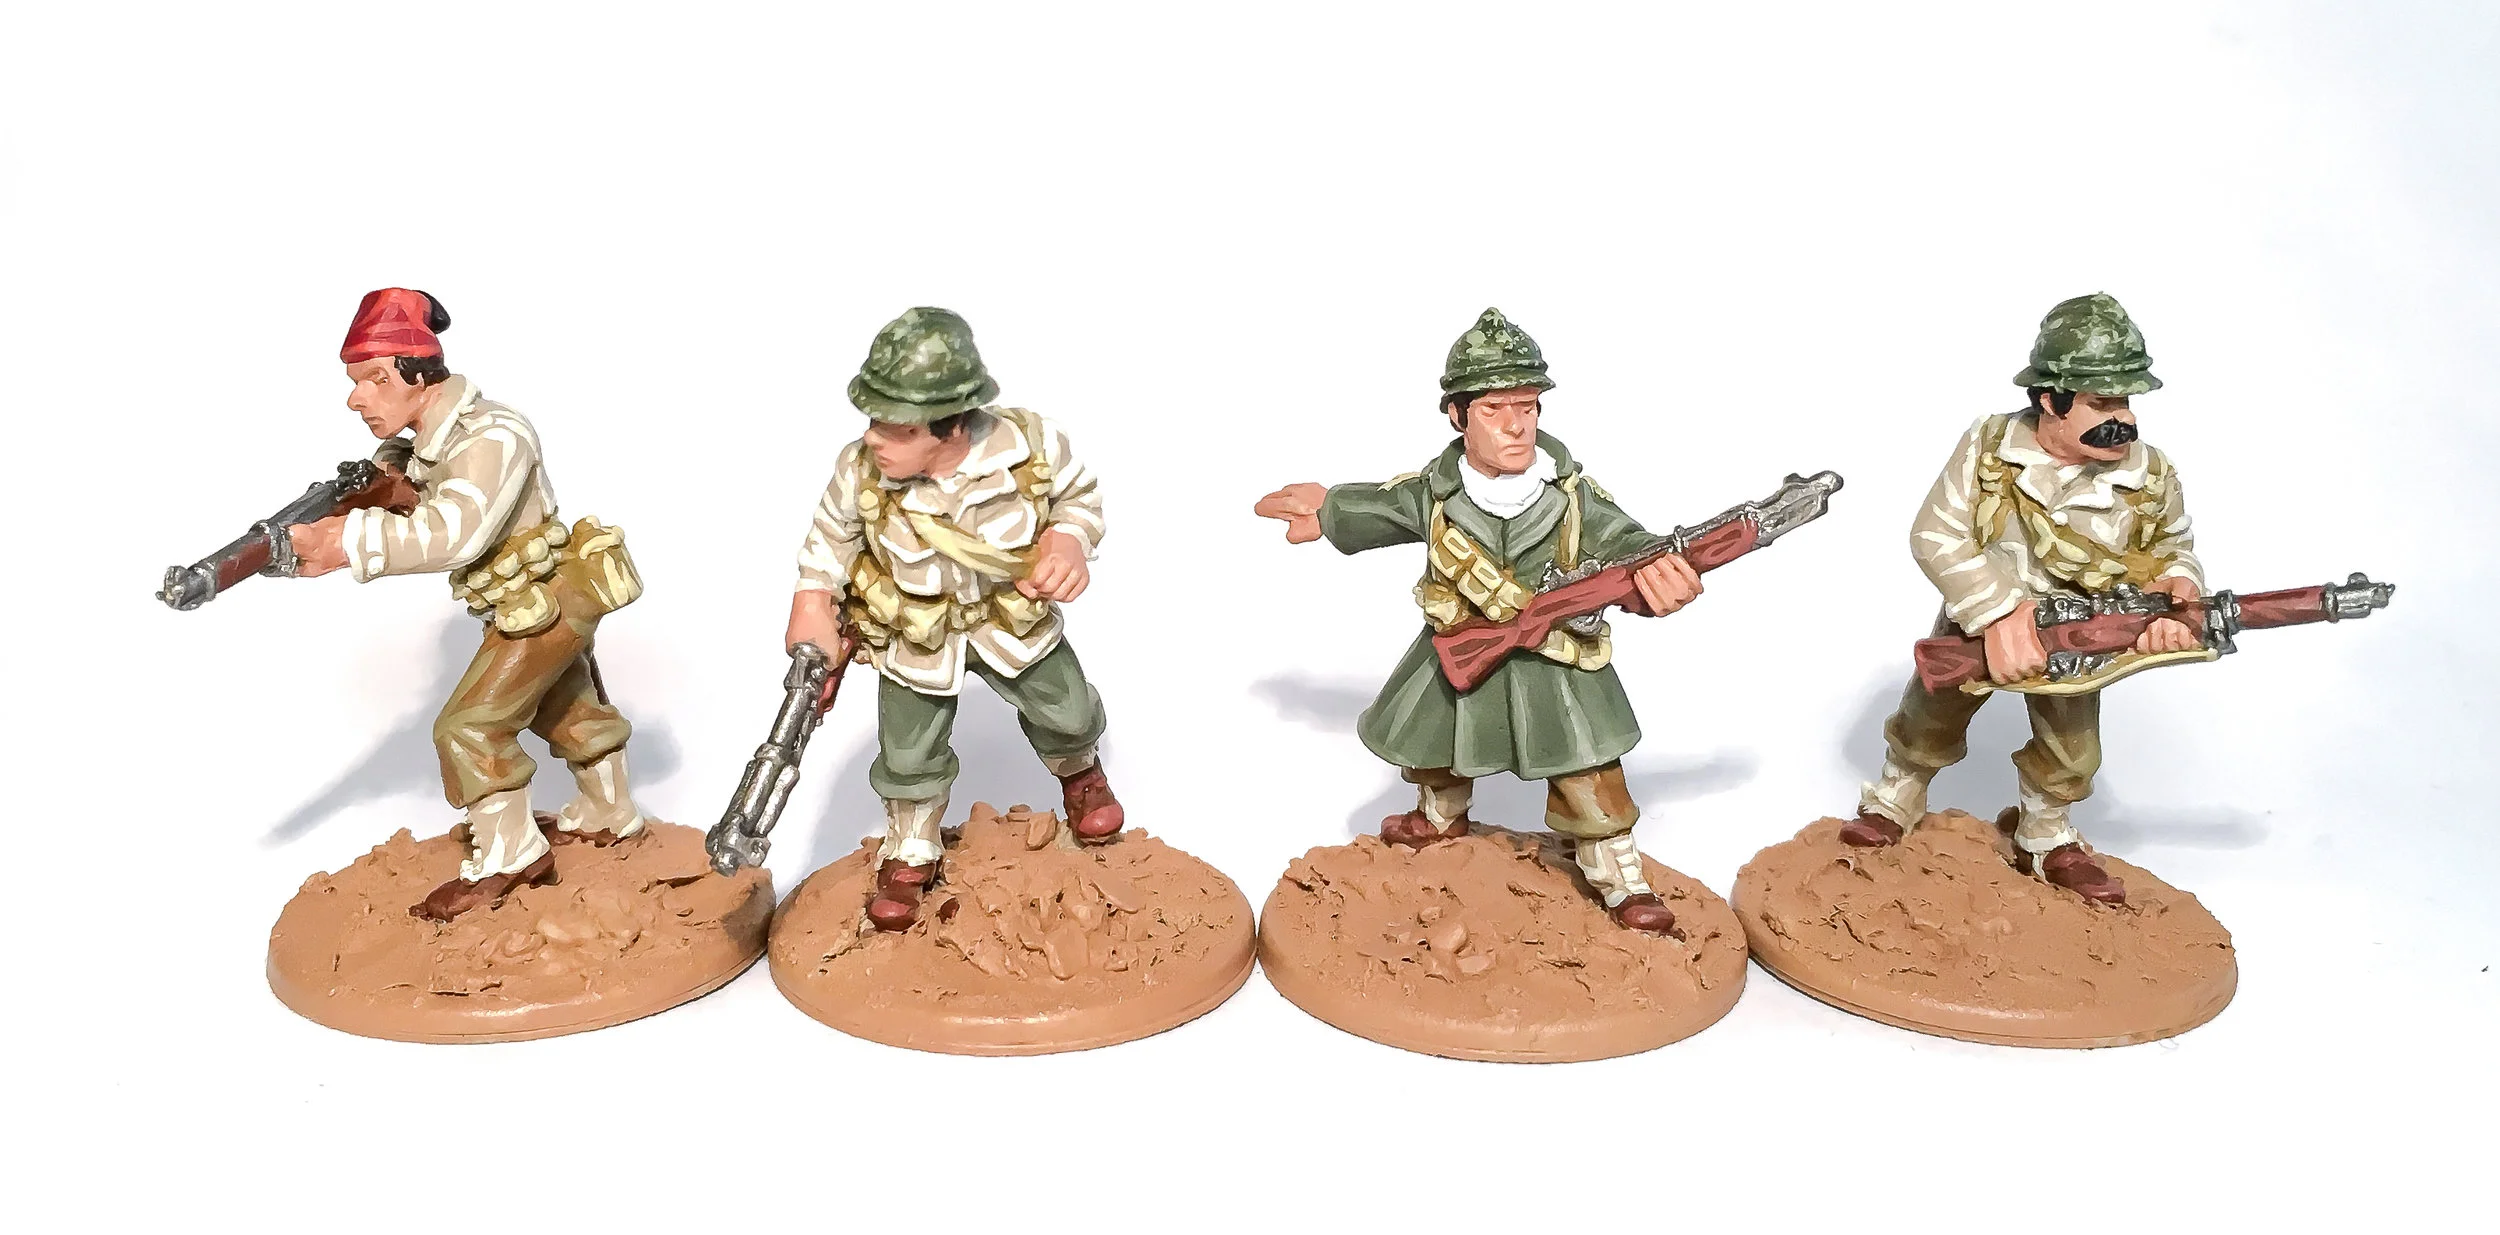
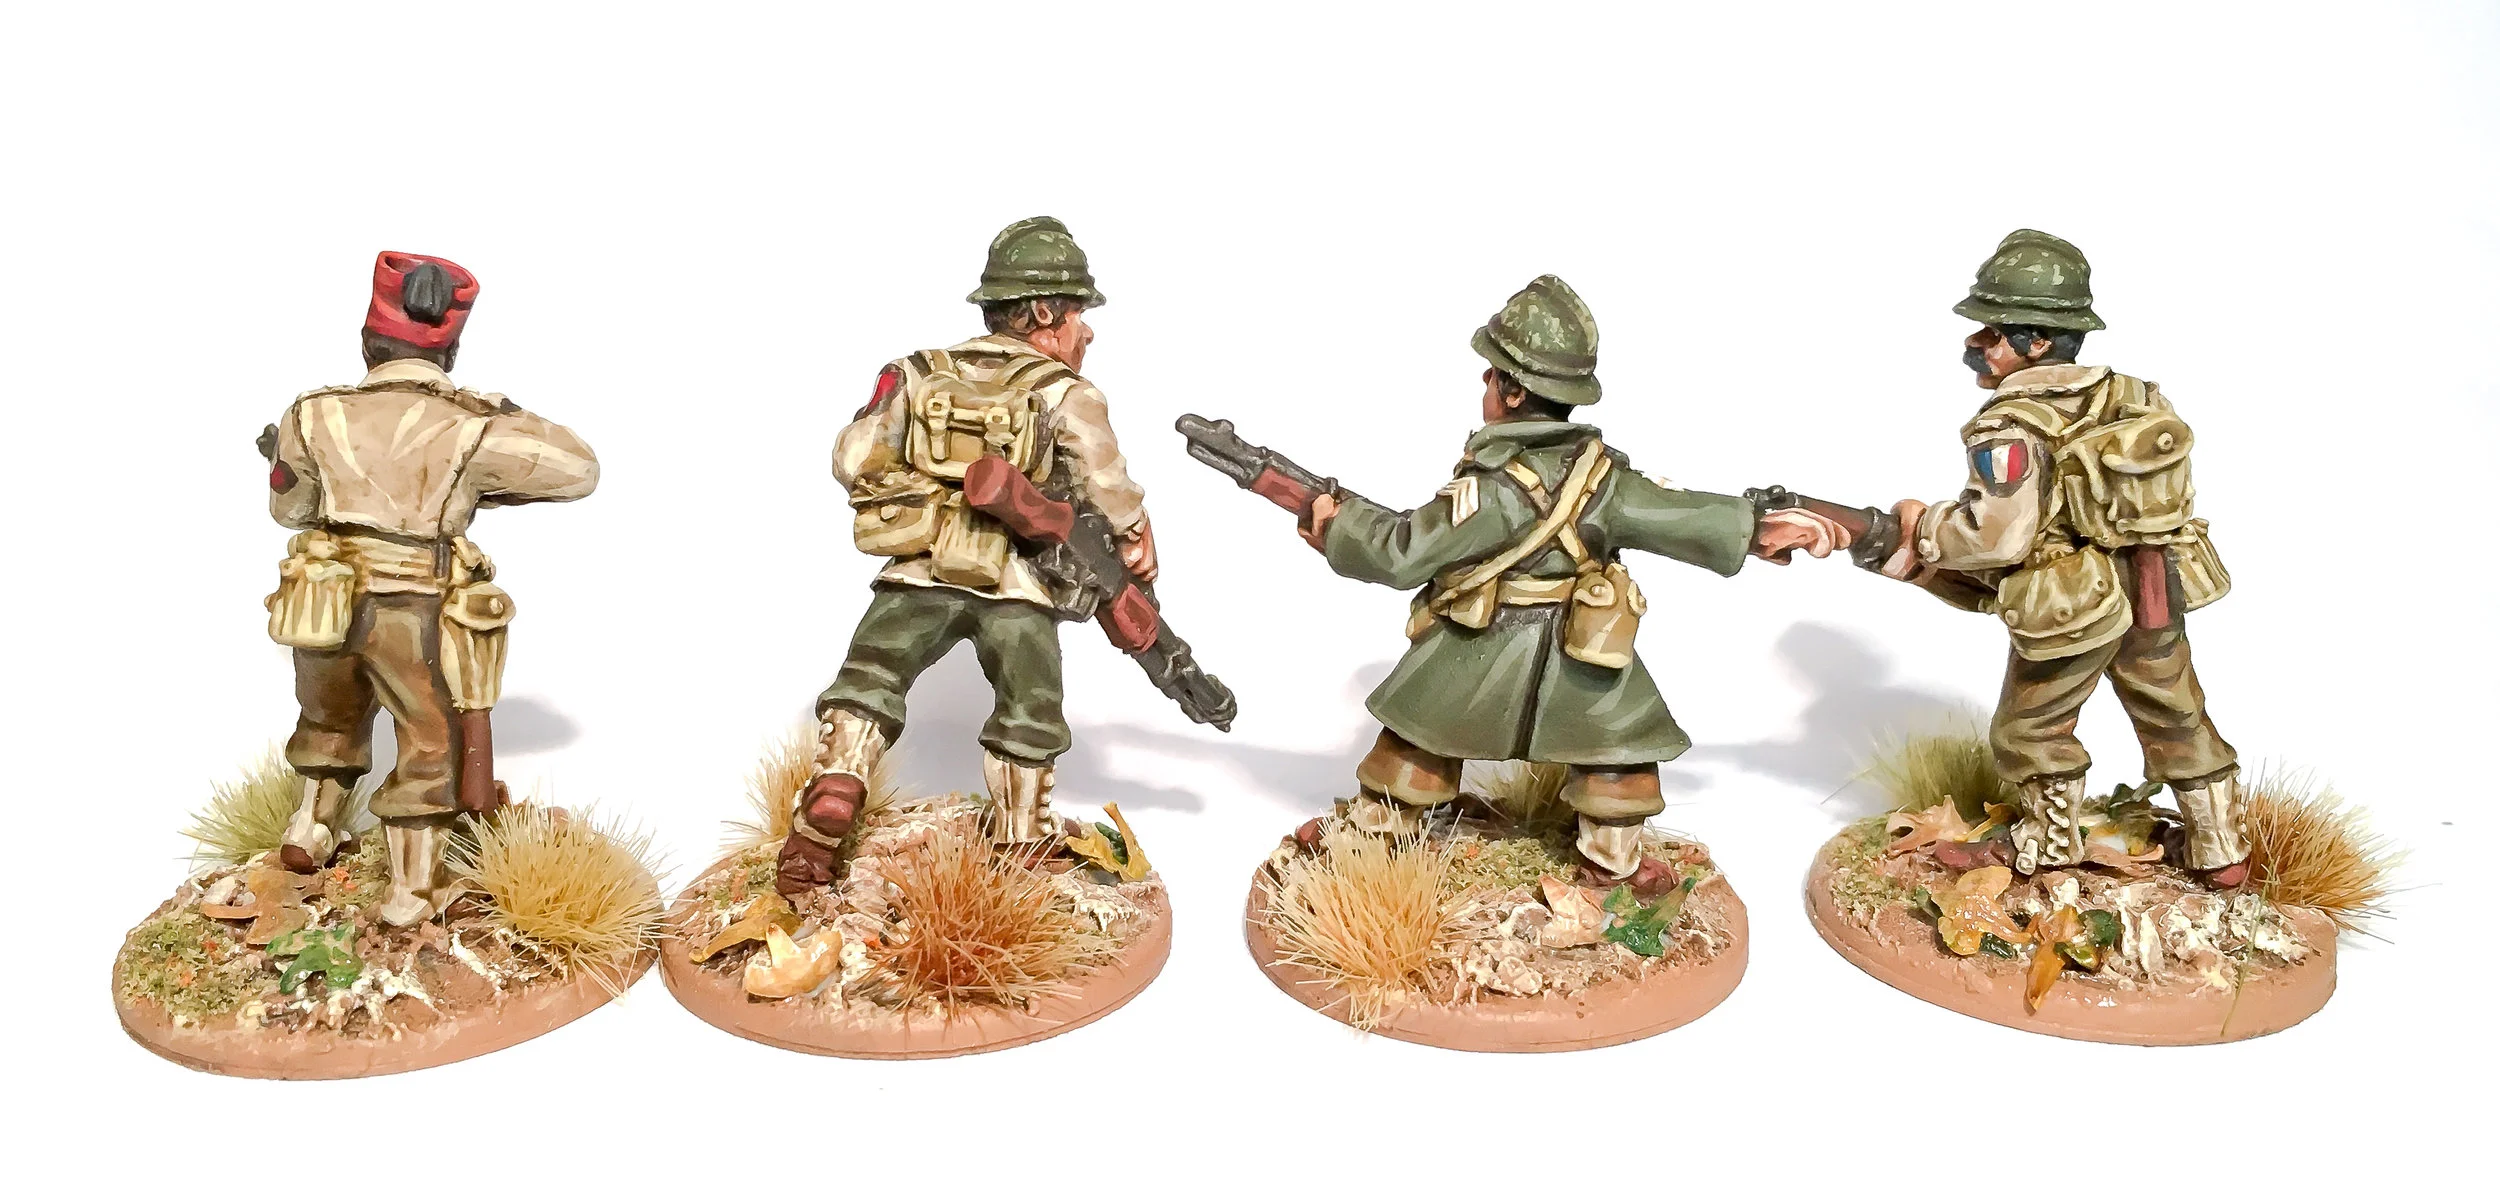
WWII Fighting French 1943-45
Bryan’s step by step painting guide
Hi guys, welcome to another step-by-step painting guide. This time for WW2 US infantry or Fighting French infantry. The models are Fighting French but they are equipped by the Americans, so apart from some head gear they are exactly the same. This guide presents a method which is designed to get your Fighting French (or US) army painted quickly with the minimum amount of steps but the maximum 'punch' in the depth of the shading. Key to this is the use of Army Painter’s Quickshade Strong Tone 'dip'. Read on and I'll show you how to get the above result in 6 steps.

Step 1 - Coloured spray primer
Spray your miniatures with a coloured primer spray. I chose a spray colour that will be the main khaki uniform. This saves time as you prime the model and put down one of the main colours in one step. I chose this khaki colour as the base layer as it is fairly light and so the subsequent darker colours will have no problem painting over this.
The exact spray I used in this example is Tamiya's TS-68 Wooden deck tan, an acrylic spray available from most hobby shops.

Also pictured here is a key product to the way this particular painting method works; Army Painter’s Quickshade 'Strong Tone', More on this later.
To save even more time, be sure to add any basing material to your mini prior to applying the spray primer. I added polly-filla and small rocks to texture my bases.

Step 2 - Base colours
Now it’s time to lay down your base colours with a brush.
Jacket and gaiters: Undercoat spray colour
Trousers (Brown): 983 Flat Earth (Vallejo)
Trousers & Greatcoat (Green): 893 US Dark Green (Vallejo)
Webbing: 880 Khaki Grey (Vallejo)
Helmet: 888 Olive Grey (Vallejo)
Gun stock & Boots: 984 Flat Brown
Flesh: Cadian Fleshtone (Citadel)
Gun barrel: Leadbelcher (Citadel)
Hair: Abaddon Black (Citadel)
Fez: Khorne Red (Citadel)
Base: 876 Brown Sand (Vallejo)
Step 3 - Highlights
In this step we paint on the highlights. This is done in a very careful way as the highlights are very 'extreme' as the quickshade we apply latter will really darken everything down, so we must plan ahead for this. Some highlights are in 2 stages where noted.
Jacket and gaiters: 837 Pale Sand (Vallejo)
Trousers (Brown): 880 Khaki Grey, then 988 Khaki (Vallejo)
Trousers & Greatcoat (Green): 886 Green Grey (Vallejo)
Webbing: 988 Khaki, then 976 Buff (Vallejo)
Helmet: 887 Brown Violet, then (GW) Nurgling Green (Citadel)
Gun Stock & Boots: Tuskgor Fur (Citadel)
Hair: Abaddon Black (Citadel)
Fez: Wildrider Red (Citadel)


Step 4 - Detailing and flesh
The main colours are now highlighted and ready for the quickshade 'dip'. But before this I want to focus on adding extra definition to the final result by 'black lining' the crevasses between major areas on the model. I do this with a very fine detail brush and 822 German Black Brown (Vallejo). This particular colour is a little watery anyway, so it helps to flow into the deeper crevasses. You literally paint a line of the dark brown paint into the edges between any two light colours, have a look at the example photo above to see where I put mine.
Also, in this stage I shade flesh. The base colour, is already done. but this is my method for painting flesh. The base colour, 2 highlights using a fine detail brush and then a light glaze or wash of a sepia to help blend it all together, It is rather fast and gives a good result.
Flesh base colour: Cadian Fleshtone (Citadel)
Highlight 1: Kislev Flesh (Citadel)
Highlight 2: Flayed one Flesh (Citadel)
Wash: Riekland Fleshshade (Citadel)

Step 5 - Quickshade wash
Now use an old brush to apply the Army Painter Quickshade 'dip' to the entire model. I don't literally dip the model as that is too much. I apply the 'Strong tone' version in this case with the brush and leave it for about 30mins, then check and remove any large areas of it that have pooled up. Simple. Now leave it for 48 hours MINIMUM to dry. Trust me, the longer the better, it may be touch dry after 24 hours but I have had bad results by using a varnish on the quick-shaded models to early and it creates a cracked earth effect over the entire models surface. Not cool...

Step 6 - Matt varnish and basing
Matte varnish now removes the high gloss finish left by the quickshade. Just before the matte varnish though, I do paint the eyes on my miniatures. This is of course optional as it can be tricky to do. In my case I paint the white on first on the eyeballs and then a tiny black dot for the pupils.
Last thing to do is finish up the bases. I drybrush two highlight on top of the base colour. First is 847 Dark Sand (Vallejo), and then a final layer of 837 Pale Sand (Vallejo). I added grass tufts from Gamers Grass and some flock from Woodland Scenics.
Apart from the two day drying time for the quickshade, using this method will get your US or Free French infantry painted rather fast, and to a great tabletop standard. The exaggerated but simple shading means your models will really 'pop' when viewed from a few feet away, as is normal on the gaming table.
Thanks for checking out this painting guide.
-Bryan


